IoT Security: Build a Dedicated VLAN for Your Smart Devices
"Don't let your smart lights become a backdoor into your main network; learn how to build a dedicated, air-gapped VLAN for maximum IoT security."
If a hacker gains access to a cheap smart plug, they shouldn't be able to see your tax returns on your laptop. This guide explains how to use Virtual Local Area Networks (VLANs) to create digital walls between your vulnerable gadgets and your private data.
* VLAN segmentation isolates vulnerable IoT devices from critical computing devices like PCs and NAS drives. * A proper setup requires a managed switch and a router/firewall capable of handling VLAN tagging (802.1q). * The goal is to restrict IoT devices' access only to the internet and necessary services, blocking lateral movement within the home network.

Why is IoT Isolation Non-Negotiable in Modern Homes?
At dusk in the dimly lit study, a cold shiver ran down my spine as I stared at the glowing smart bulb flickering on my desk.
I remember sitting in my home office at 7:30 PM last Tuesday, looking at a tiny, $15 smart bulb plugged into a lamp on my desk. It looked harmless, but I realized that if that bulb had a vulnerability, it was effectively sitting on the same digital floor as my work laptop and my personal NAS.
The attack surface of a modern home has expanded exponentially. Most IoT devices—smart speakers, plugs, and cameras—are built for convenience, not security. They often run on outdated firmware or possess hardcoded default passwords that are nearly impossible for a casual user to change.
This makes them perfect entry points for botnets. For example, the Mirai malware famously exploited weak default credentials in IoT devices to create massive DDoS attacks, proving that a small device can be a powerful weapon.
The real danger, however, is lateral movement. If a compromised toaster is on your main LAN, an attacker doesn't just own your toaster; they gain a foothold to scan your laptops, servers, and smartphones. Without segmentation, your entire network is only as secure as its weakest, cheapest gadget.
Additionally, uncontrolled IoT devices can often flood a flat network with broadcast traffic, causing unnecessary congestion.
Prerequisites: What You Need Before You Start
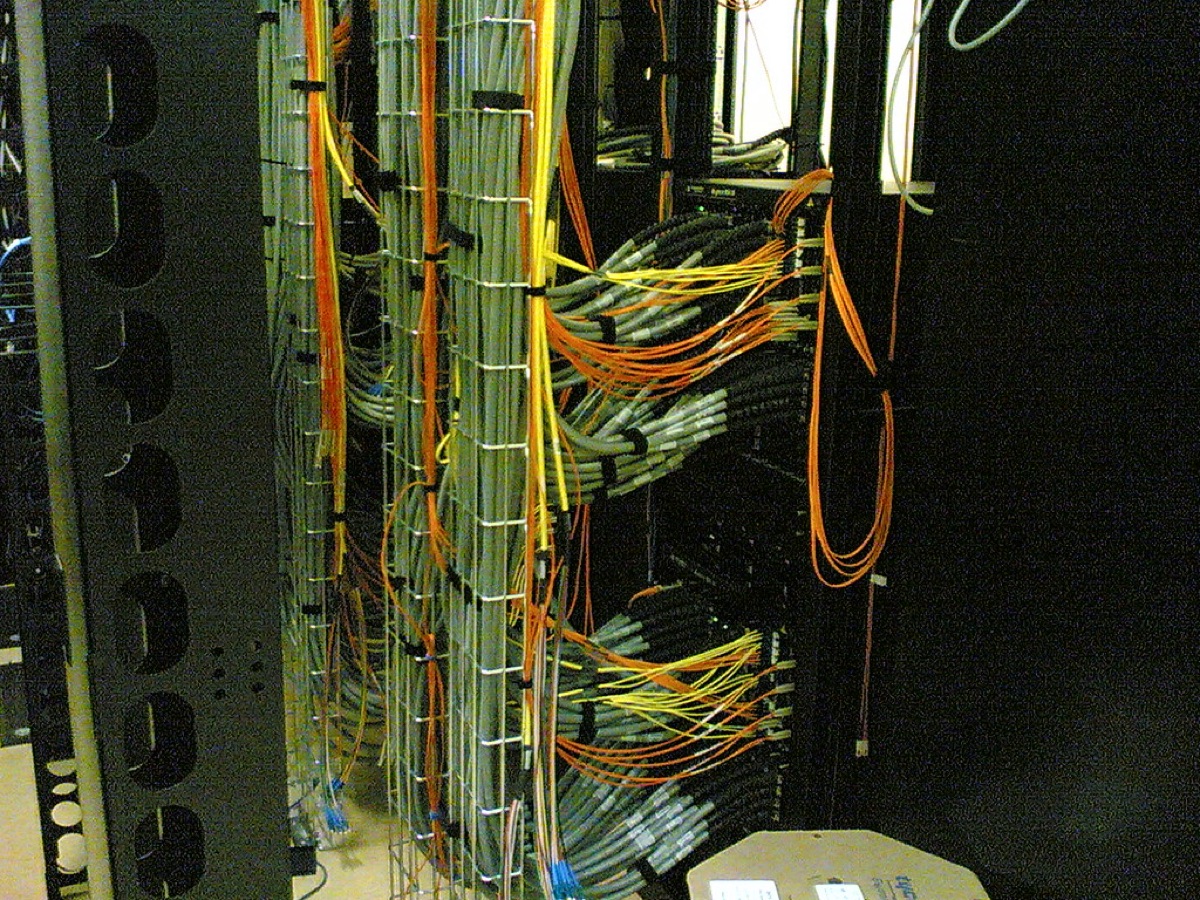
I stood in my garage last weekend, looking at a pile of unboxing supplies and a tangled web of ethernet cables, wondering if my current router could even handle a professional-grade setup. If you want to move beyond a basic home setup, you can't just use a standard ISP-provided router.
To build a secure VLAN, you need specific hardware. You need a router or firewall capable of Inter-VLAN routing—the ability to move traffic between different virtual networks—and a managed switch that supports VLAN tagging, specifically the 802.1q standard.
A "dumb" or unmanaged switch will simply strip away your VLAN tags, breaking your entire security architecture.
You also need a clear conceptual foundation. In a "flat" network, every device is in one giant broadcast domain where they can all "hear" each other. VLANs allow you to create multiple, separate broadcast domains on the same physical hardware.
Before you touch any settings, you must plan your IP scheme. A common approach is to define separate subnets for each VLAN, such as using 192.168.1.x for your Main LAN and 192.168.20.x for your IoT VLAN.
| Component | Requirement | Purpose |
|---|---|---|
| Router/Firewall | 802.1q Support | Manages traffic between VLANs |
| Managed Switch | VLAN Tagging Capability | Assigns specific ports to specific VLANs |
| Access Point | Multi-SSID Support | Broadcasts different Wi-Fi names for different VLANs |
| IP Schema | Unique Subnets | Keeps traffic logically separated |
Step-by-Step: How do I actually build the wall?
I sat down at my desk at 9:00 PM with a coffee, opened my router's management console, and began the process of carving out a new digital space. It felt like building a room within a house without moving any actual walls.
First, you must create the VLAN ID. In your router or managed switch interface, create a new VLAN, such as VLAN 20, and name it "IoT_Isolation." If you are using a managed switch, assign specific physical ports to this VLAN.
If you are using Wi-Fi, you will need to map a specific SSID (the Wi-Fi name) to this VLAN ID.
Next, define the gateway. Your router must be configured to act as the gateway for this new IoT subnet. This ensures that when a smart plug wants to talk to the internet, it knows exactly which "door" to go through.
The most critical step is implementing Firewall Rules, also known as Access Control Lists (ACLs). You should follow a "Default Deny" policy. This means you start by blocking all traffic between VLANs. Once everything is blocked, you selectively "allow" only what is absolutely necessary.
For example, you might allow the IoT VLAN to access the internet, but explicitly deny it from initiating any connection to your Main LAN.
- Create VLAN ID: Set up a unique ID (e.g., VLAN 20) in your router and switch.
- Assign Ports/SSIDs: Map your IoT devices to the specific ports or Wi-Fi networks assigned to that VLAN.
- Configure Gateway: Ensure the router has a virtual interface to act as the gateway for the new subnet.
- Apply Firewall Rules: Set up rules to block IoT-to-Main traffic while allowing IoT-to-Internet traffic.
- Test Connectivity: Ensure devices can reach the web but cannot "see" your private computers.

Beyond Basics: How to harden the defenses?
After the basic setup was running, I spent an evening looking for the "cracks" in my new digital wall. A secure VLAN is a great start, but true professional-grade security requires hardening.
One advanced technique is preventing uplink attacks. You must ensure that even if a device in the IoT VLAN is hijacked, it cannot initiate a connection back into your Main LAN.
You might need to create specific "pinhole" rules—for example, allowing your phone on the Main LAN to talk to a smart speaker on the IoT VLAN, but preventing the speaker from ever initiating a conversation with your phone.
DNS control is another vital layer. Many IoT devices "phone home" to various servers globally. By forcing your IoT VLAN to use a specific, monitored DNS server (like a local Pi-hole or a secure provider), you can block connections to known malicious domains before they even happen.
Finally, consider Quality of Service (QoS). IoT devices, especially smart cameras, can consume significant upload bandwidth.
Applying QoS policies allows you to prioritize critical traffic, like a Zoom call on your laptop, over a background firmware update on a smart lightbulb, ensuring your productivity isn't interrupted by your gadgets.
Troubleshooting & Monitoring: Did it actually work?
I pulled up a terminal window on my laptop and typed a simple "ping" command to my smart hub. If the ping failed, I knew my security wall was working; if it succeeded, I knew I had a hole to plug.
The first step in troubleshooting is connectivity testing. You must verify that devices in your IoT VLAN can successfully reach the internet gateway but *cannot* ping or access devices in your Main LAN. If you can still access your laptop from a smart plug, your firewall rules are too permissive.
You should also monitor for "chatty" devices. Use your router's traffic logs to see which devices are sending the most data.
If a smart plug is suddenly sending gigabytes of data to an unknown IP address, it might be part of a botnet, and your VLAN isolation will be your first line of defense in containing that threat.
Security Checklist for IoT Isolation
* [ ] VLAN Tagging: Is 802.1q enabled on all switches? * [ ] Subnet Separation: Does the IoT VLAN have its own unique IP range? * [ ] Firewall Rules: Is "Deny All" the default rule between VLANs? * [ ] SSID Mapping: Is your IoT Wi-Fi correctly mapped to the IoT VLAN? * [ ] Testing: Can a device in the IoT VLAN reach your private PC? (It shouldn't!)
#








Comments 0