802.1q VLANs: Digital Walls for Your Smart Home Devices
"Don't let your smart toaster become a gateway to your entire home network; segment your IoT devices using VLANs for true digital isolation."
If a hacker gains access to a cheap smart bulb on your network, they shouldn't be able to see your tax returns on your laptop. By using Virtual Local Area Networks (VLANs), you can create digital walls that keep insecure gadgets trapped in their own corner.
Key Takeaways * VLANs logically separate broadcast domains, preventing compromised IoT devices from accessing sensitive PCs or servers. * A robust setup requires a managed switch and a router capable of handling VLAN tagging (802.1q).
* Proper configuration involves creating a dedicated IoT VLAN, assigning ports, and implementing strict firewall rules between segments.
Why is Simple Wi-Fi Security Not Enough for IoT?
At 11:30 PM on a Tuesday in early 2025, a smart camera in a living room suddenly starts sending massive amounts of data to an unknown server overseas.
The owner thinks it's just a firmware update, but in reality, the device has been hijacked and is being used as a pivot point to scan the rest of the house.
The attack surface of a modern home has expanded exponentially. Unlike a laptop or a smartphone, many IoT devices—smart plugs, cheap cameras, and even smart lightbulbs—often have inherent, unpatchable vulnerabilities.
They frequently lack robust security protocols and rarely receive regular firmware updates.
When these devices sit on the same network as your primary workstation or NAS (Network Attached Storage), the "blast radius" of a single breach is massive. If an attacker gains a foothold on a vulnerable smart plug, they can move laterally through the network to reach your most sensitive data.
The goal of network segmentation is containment. By minimizing the attack surface area, you ensure that if a device is compromised, the damage is limited to that specific segment. You aren't just protecting the device; you are protecting the rest of your life from the device.
But how do you actually build these walls without breaking your own connectivity?

How do I build a secure IoT network? Late at night in the dim home office, a technician wipes sweat from their brow while staring at the frantic flickering of a managed switch.
A technician sits at a desk in a quiet home office, surrounded by several networking boxes, carefully labeling cables and checking the status lights on a managed switch. The room is quiet, save for the low hum of cooling fans and the soft click of a mechanical keyboard.
To build this kind of isolation, you cannot rely on a standard consumer-grade "all-in-one" router provided by an ISP. You need specific hardware: a router or firewall capable of inter-VLAN routing and a managed switch that supports 802.1q VLAN tagging.
A standard design might look like this: * VLAN 10 (Main): For trusted devices like laptops, smartphones, and servers. * VLAN 20 (IoT): For all smart home gadgets and cameras. * VLAN 30 (Guest): For visitors and temporary devices.
The "Golden Rule" of this architecture is the Principle of Least Privilege, often implemented as a "Default Deny" policy. This means that by default, no communication is allowed between VLANs. You only explicitly allow the specific traffic required for a device to function.
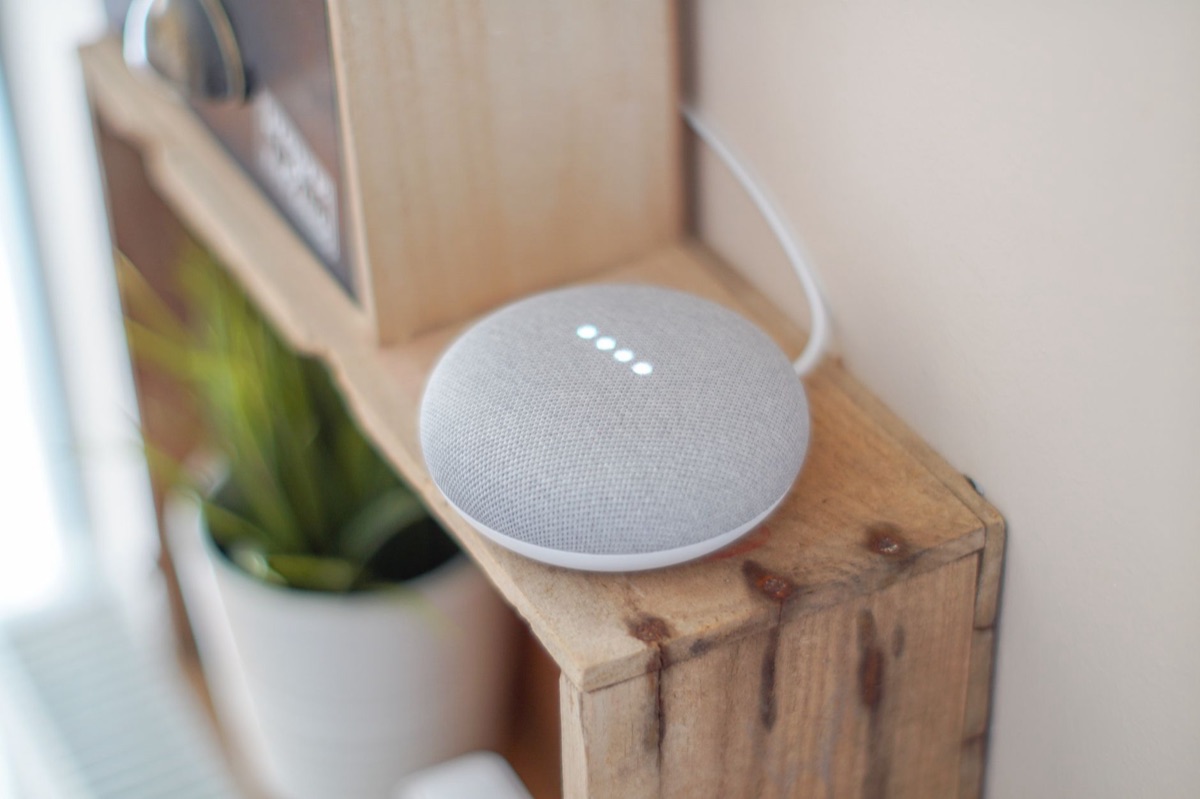
For example, a smart speaker might need to reach a specific cloud server on the internet, but it has absolutely no reason to talk to your desktop computer.
The traffic flow should follow a strict path: IoT Device → Managed Switch Port → Tagged Frame → Router/Firewall → Internet.
Implementing this sounds daunting, so let's look at the actual process.
How do I implement VLAN isolation step-by-step? A technician plugs a console cable into the router and begins typing commands into a terminal window, the cursor blinking steadily on the screen. The time is 2:00 PM, and the workspace is organized with neat cable management.
Implementing this requires a methodical three-phase approach to ensure you don't accidentally lock yourself out of your own network.
- Phase 1: Physical and Layer 2 Setup
- First, you must configure your managed switch. You will assign specific ports as "Access Ports" (where a single device lives on one VLAN) and "Trunk Ports" (the pipes that carry multiple VLANs between the switch and the router). If you have a wireless access point, it will likely connect via a Trunk Port to allow multiple SSIDs to map to different VLANs.
- Phase 2: Logical Configuration
- On your router or firewall, you must create the logical interfaces (often called SVIs or Sub-interfaces) that correspond to your VLAN IDs. This tells the router how to handle the tagged traffic coming from the switch. Without these logical interfaces, the router won't know how to route the data between the different "virtual" networks.
- Phase 3: Firewall Rules (The Crucial Step)
- This is where the actual security happens. You must write rules to govern the traffic:
- * IoT → Internet: Allow outbound access to necessary ports (e.g., HTTPS or specific IoT protocols).
- * Internet → IoT: Deny all unsolicited inbound access. Avoid UPnP and manual port forwarding whenever possible.
- * IoT ↔ Main: Explicitly deny all traffic moving from the IoT VLAN to the Main VLAN.
To verify the setup, use a testing protocol. From a device on the IoT VLAN, try to `ping` a computer on the Main VLAN. If the ping fails and the connection times out, your isolation is working.
But what happens when the security rules make your smart devices stop working?

Beyond Isolation: Optimizing Performance and Connectivity
A video stream on a smart display occasionally stutters, and the user reaches for the router to check the connection, wondering why the video isn't smooth.
While VLANs handle the security aspect, you must also consider performance. IoT devices can sometimes cause bandwidth issues. For instance, a faulty smart camera might attempt to upload massive amounts of data, saturating your upload bandwidth and causing lag for your work video calls.
Quality of Service (QoS) is the tool used to manage these bottlenecks. By implementing QoS alongside your VLANs, you can prioritize certain types of traffic. You can ensure that a VoIP call or a gaming session takes precedence over a background firmware update on a smart plug.
You can also apply rate limiting to the IoT VLAN. By capping the maximum bandwidth the IoT segment can consume, you prevent a single compromised or malfunctioning device from performing a local Denial of Service (DoS) attack on your entire internet connection.
When I first set up a segmented network in my own home, I spent three hours troubleshooting why my smart speaker couldn't find my phone. It was a classic case of a blocked discovery protocol.
| Feature | Basic Home Network | Professional IoT Segmented Network |
|---|---|---|
| Device Isolation | None (All devices see each other) | High (Devices are logically separated) |
| Security Level | Low (One breach affects everyone) | High (Breach is contained to one segment) |
| Hardware Needs | Standard ISP Router | Managed Switch + Prosumer Router/Firewall |
| Complexity | Plug and Play | Requires manual configuration and maintenance |
Summary and Next Steps
Building a secure network is an ongoing process of refinement and vigilance. You have moved from a single, vulnerable pool of devices to a structured, segmented environment where security is baked into the architecture.
When to reconsider this setup: Note that this level of complexity is generally unnecessary for single-person households with only one or two smart devices. It is intended for environments with a high density of IoT hardware and a requirement for high data privacy.
Next Steps in your Network Journey: * 🟢 Beginner: Learn how to secure your router and change default passwords. * 🟡 Intermediate: Explore how DNS and DHCP work to understand how devices find each other.
* 🔴 Expert: Dive deeper into Firewall Rules and VPNs to manage remote access securely.
#







Comments 0